Step 1 : Java Installation
1.1 Install latest or desired version of java
sudo apt install default-jdk default-jre -y

1.2 Check java version
java -version

Step 2 : Create Hadoop User (Optional)
If you want to manage Hadoop files independently, create a different user (a Hadoop user).
2.1 Create a new user called hadoop.
sudo adduser hadoop
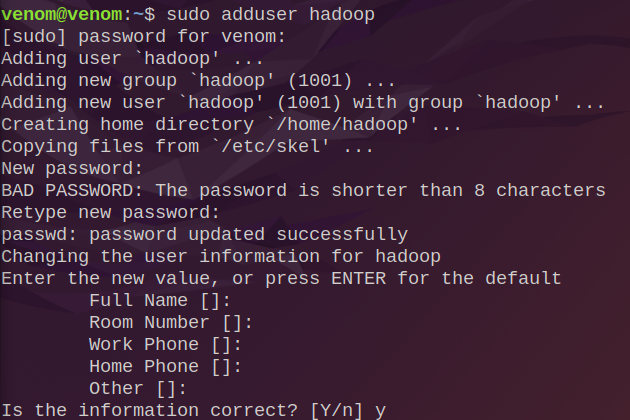
2.2 Make the hadoop user a member of the sudo group.
sudo usermod -aG sudo hadoop
The -aG argument in the above command usermod stands for append(a)-Groups(G).

2.3 Change to the Hadoop user now.
sudo su - hadoop

Step 3 : Configure Password-less SSH
Note : If you completed step 2, then proceed to step 3 after switching to the hadoop user (sudo su — hadoop).
3.1 Install OpenSSH server and client
sudo apt install openssh-server openssh-client -y
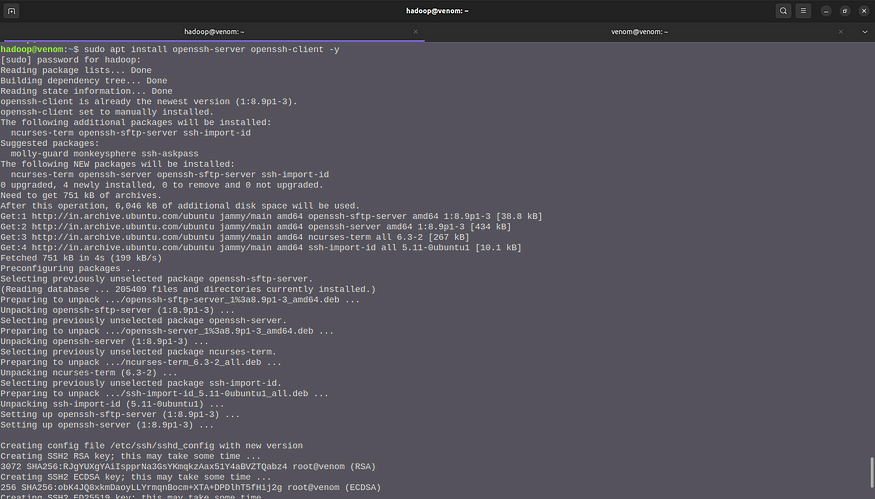
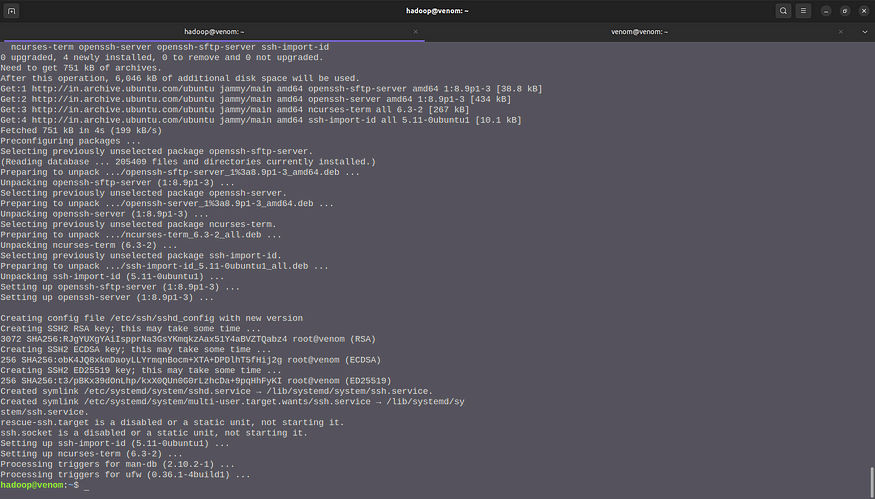
3.2 Generate public and private key pairs.
ssh-keygen -t rsa
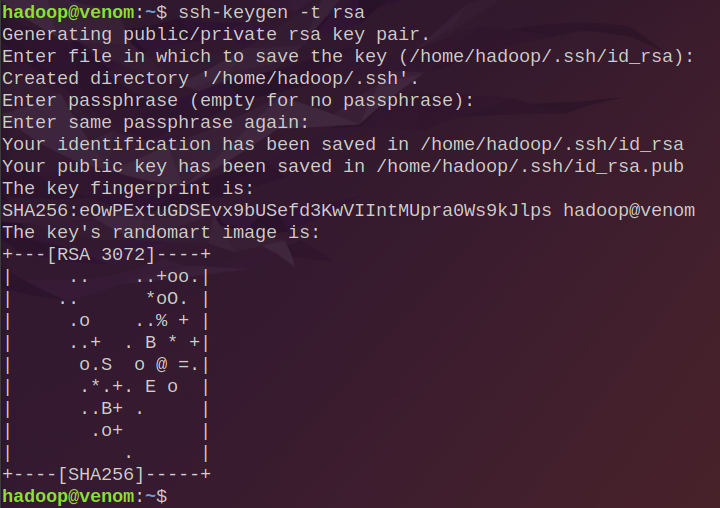
3.3 Add the generated public key from id_rsa.pub to authorized_keys
sudo cat ~/.ssh/id_rsa.pub >> ~/.ssh/authorized_keys

3.4 Change the file permissions for authorized_keys.
sudo chmod 640 ~/.ssh/authorized_keys

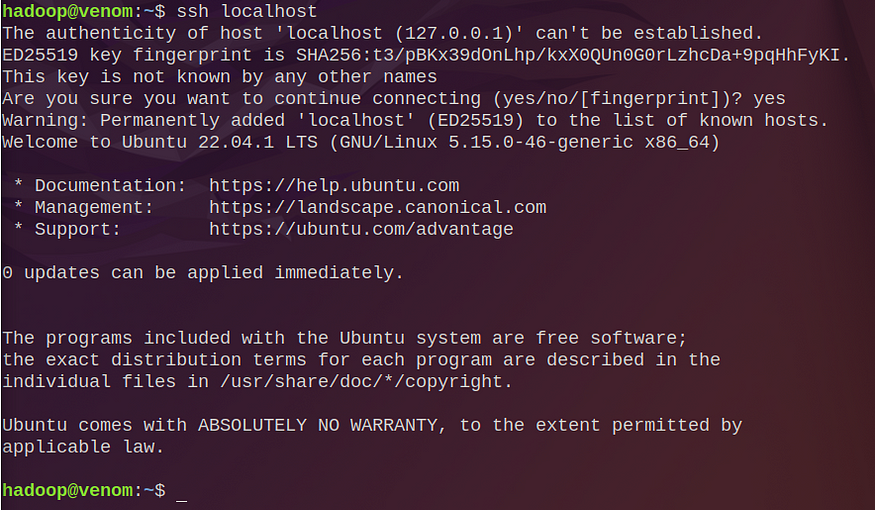
3.5 Check to see if the password-less SSH is working.
ssh localhost
Step 4 : Install and Configure Apache Hadoop in hadoop user
Note : Check that you are using the hadoop user; if not, use the following command to switch to the hadoop user.
sudo su - hadoop
4.1 Download latest stable version of hadoop
wget https://downloads.apache.org/hadoop/common/hadoop-3.3.1/hadoop-3.3.1.tar.gz
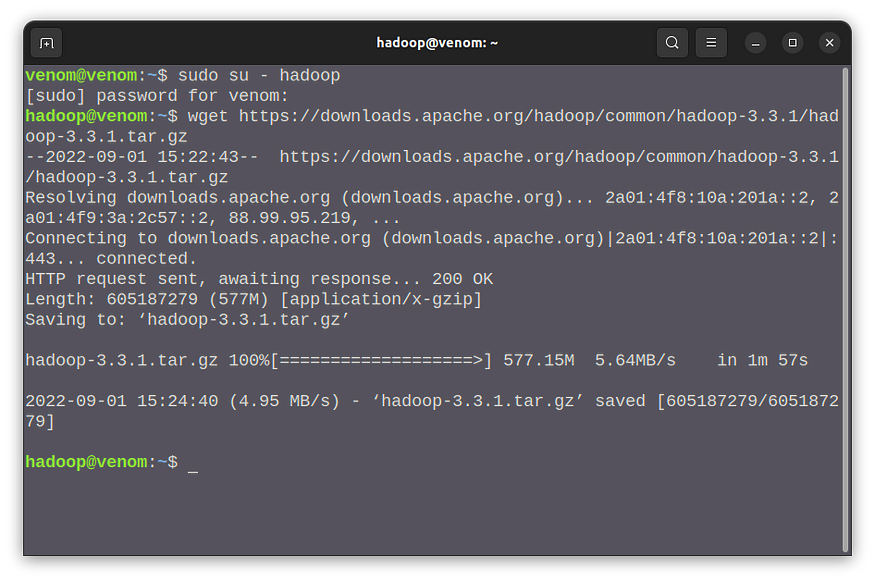
Use the following command if the previous one fails with an error.
sudo apt-get install wget
4.2 Extract the downloaded tar file
tar -xvzf hadoop-3.3.1.tar.gz

4.3 Create Hadoop directory
To ensure that all of your files are organised in one location, move the extracted directory to /usr/local/.
sudo mv hadoop-3.3.1 /usr/local/hadoop
To maintain hadoop logs, create a different directory inside of usr/local/hadoop called logs.
sudo mkdir /usr/local/hadoop/logs
Finally, use the following command to modify the directory’s ownership.
4.4 Configure Hadoop
sudo nano ~/.bashrc
Once executing the above command you can see nano editor in your terminal then paste following lines
export HADOOP_HOME=/usr/local/hadoop
export HADOOP_INSTALL=$HADOOP_HOME
export HADOOP_MAPRED_HOME=$HADOOP_HOME
export HADOOP_COMMON_HOME=$HADOOP_HOME
export HADOOP_HDFS_HOME=$HADOOP_HOME
export YARN_HOME=$HADOOP_HOME
export HADOOP_COMMON_LIB_NATIVE_DIR=$HADOOP_HOME/lib/native
export PATH=$PATH:$HADOOP_HOME/sbin:$HADOOP_HOME/bin
export HADOOP_OPTS=”-Djava.library.path=$HADOOP_HOME/lib/native”
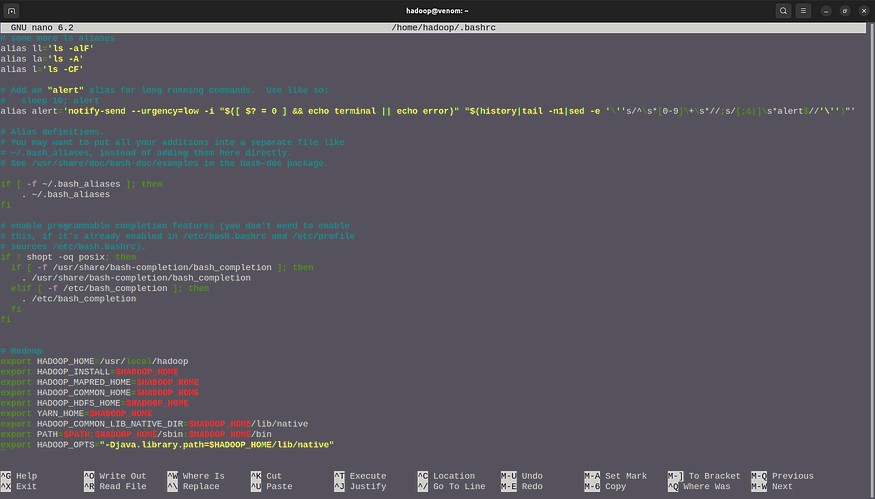
Press CTRL + S to save and CTRL + X to exit the nano editor after copying the lines above.
Use the following command to activate environmental variables after closing the nano editor.
source ~/.bashrc
Step 5 : Configure Java Environmental variables
Hadoop can carry out its essential functions thanks to a large number of components. You must define Java environment variables in the configuration file for hadoop-env.sh in order to configure these components, including YARN, HDFS, MapReduce, and Hadoop-related project settings.
5.1 Find Java path and Open-JDK directory with help of following commands
which javac
readlink -f /usr/bin/javac

5.2 Edit Hadoop-env.sh file
This file contains Hadoop’s environment variable settings. You can use these to modify the Hadoop daemon’s behaviour, such as where log files are stored, the maximum amount of heap used, and so on. The only variable in this file that should be changed is JAVA HOME, which specifies the path to the Java 1.5.x installation used by Hadoop.
Open the hadoop-env.sh file in your preferred text editor first. In this case, I’ll use nano.
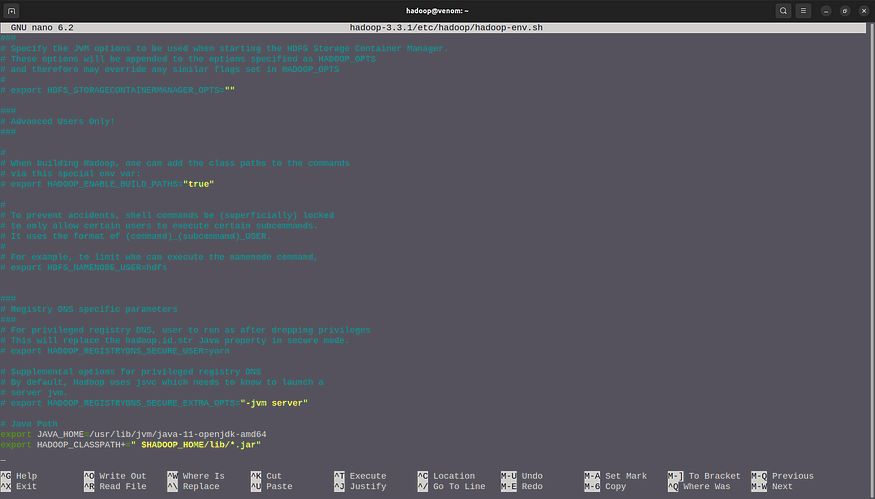
sudo nano $HADOOP_HOME/etc/hadoop/hadoop-env.sh
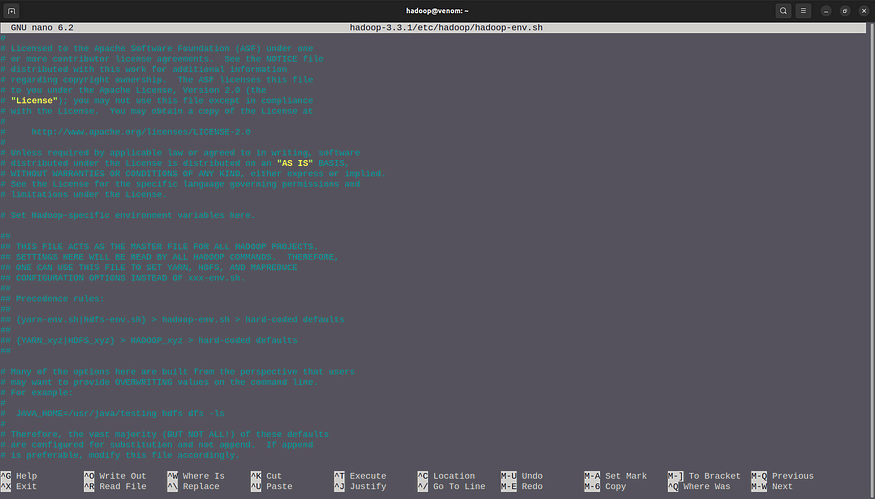
Add the next few lines to the file’s end now.
export JAVA_HOME=/usr/lib/jvm/java-11-openjdk-amd64
export HADOOP_CLASSPATH+=” $HADOOP_HOME/lib/*.jar”
Export JAVA_HOME and HADOOP_CLASSPATH in the hadoop-env.sh file once you are aware of your java and open jdk paths.
5.3 Javax activation
Install Javax by going to the hadoop directory.
cd /usr/local/hadoop/lib
Now, copy and paste the following command in your terminal to download javax activation file

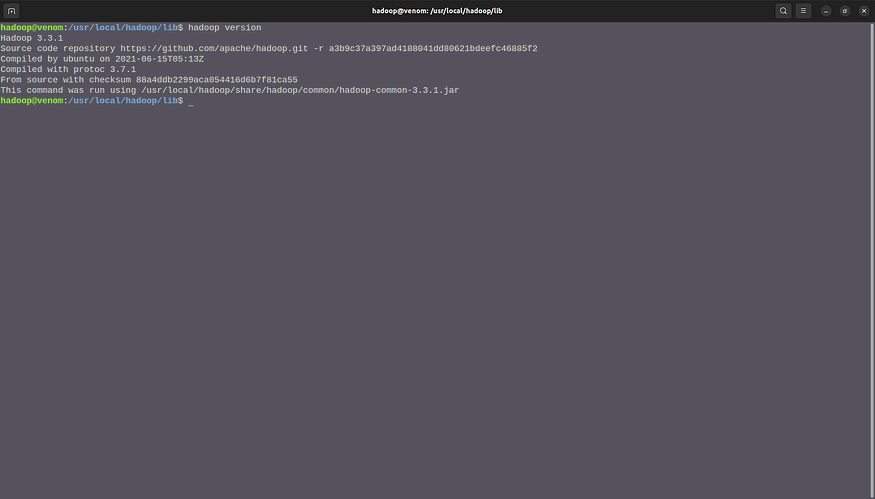
Verify your hadoop by typing hadoop version
Step 5c: Edit core-site.xml File
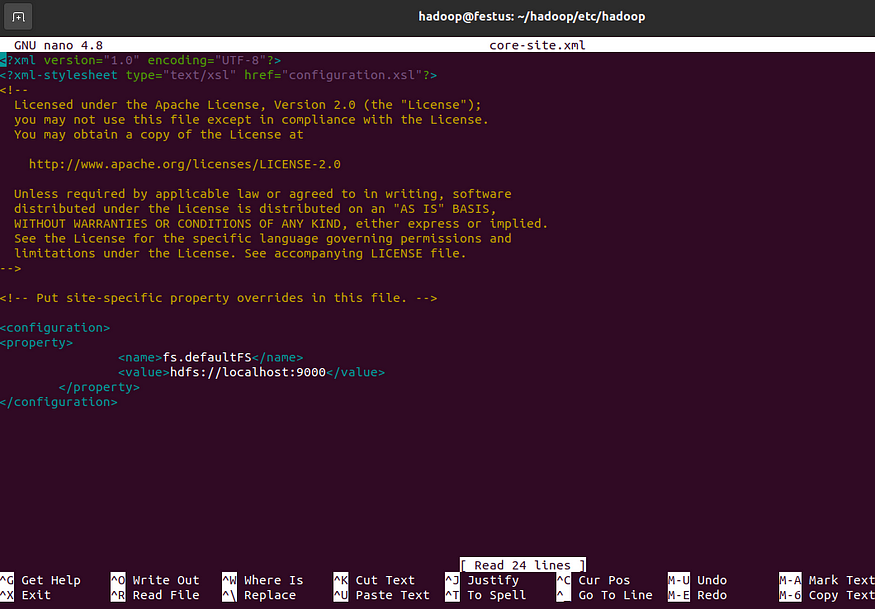
sudo nano $HADOOP_HOME/etc/hadoop/core-site.xmlAdd the following configuration to override the default values for the temporary directory and add your HDFS URL to replace the default local file system setting:
<configuration>
 <property>
                 <name>fs.defaultFS</name>
                 <value>hdfs://localhost:9000</value>
         </property>
 </configuration>
This example uses values specific to the local system. You should use values that match your systems requirements. The data needs to be consistent throughout the configuration process.
Step 5d: Edit hdfs-site.xml File
Use the following command to open the hdfs-site.xml file for editing:
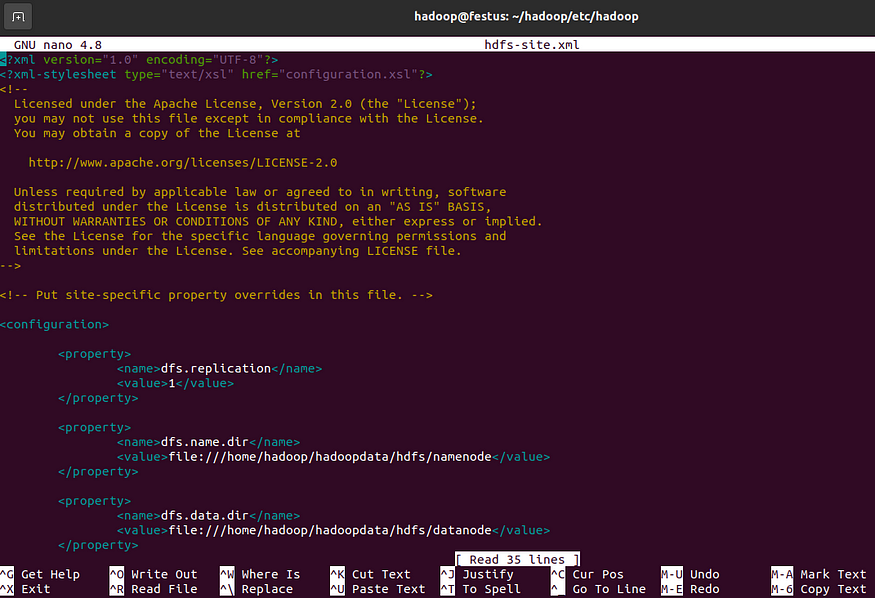
sudo nano $HADOOP_HOME/etc/hadoop/hdfs-site.xmlAdd the following configuration to the file and, if needed, adjust the NameNode and DataNode directories to your custom locations:
<configuration>        <property>
                <name>dfs.replication</name>
                <value>1</value>
        </property>        <property>
                <name>dfs.name.dir</name>
                <value>file:///home/hadoop/hadoopdata/hdfs/namenode</value>
        </property>        <property>
                <name>dfs.data.dir</name>
                <value>file:///home/hadoop/hadoopdata/hdfs/datanode</value>
        </property>
</configuration>
If necessary, create the specific directories you defined for the dfs.data.dir value.
Step 5e: Edit mapred-site.xml File
sudo nano $HADOOP_HOME/etc/hadoop/mapred-site.xmlAdd the following configuration to change the default MapReduce framework name value to yarn:
<configuration>
<property>
  <name>mapreduce.framework.name</name>
  <value>yarn</value>
</property>
</configuration>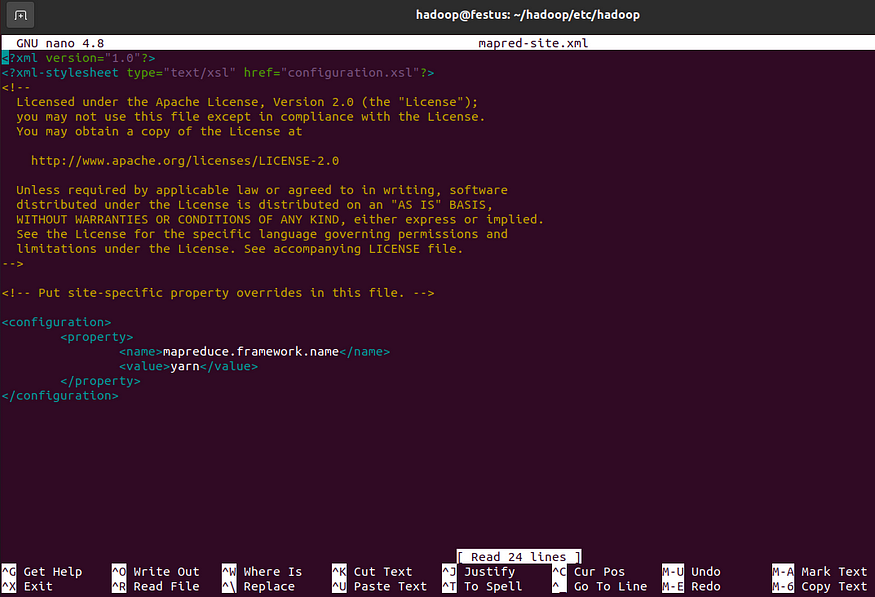
Step 5f: Edit yarn-site.xml File
Open the yarn-site.xml file in a text editor:
sudo nano $HADOOP_HOME/etc/hadoop/yarn-site.xmlAppend the following configuration to the file:
<configuration>
        <property>
                <name>yarn.nodemanager.aux-services</name>
                <value>mapreduce_shuffle</value>
        </property>
</configuration>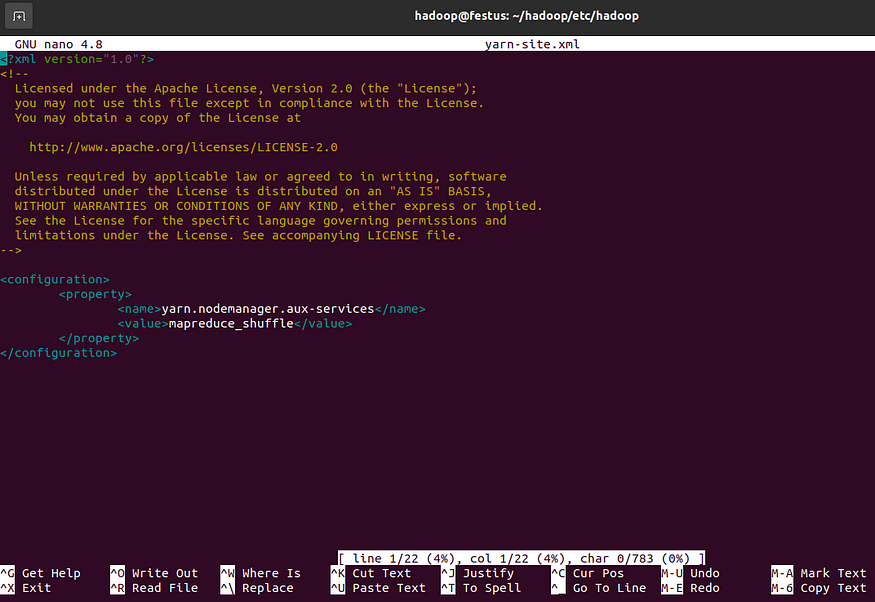
Step 8 : Format the HDFS NameNode and validate the Hadoop configuration.
8.1 Switch to hadoop user
sudo su - hadoop

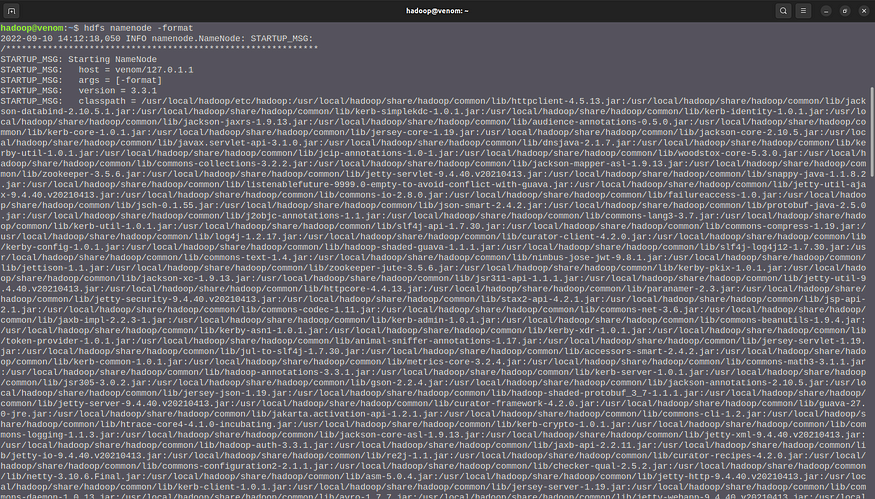
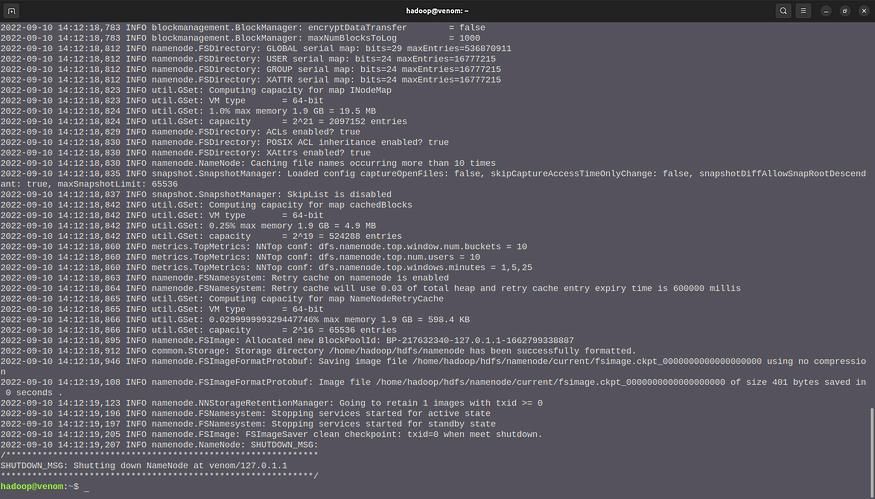
8.2 Format namenode
hdfs namenode -format
Step 9 : Launch the Apache Hadoop Cluster
9.1 Launch the namenode and datanode
start-dfs.sh

9.2 Launch the yarn resource and node manager
start-yarn.sh

9.3 Verify running components
jps
jps stands for java virtual machine process status
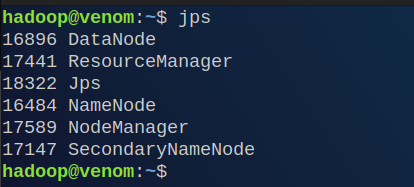
Knowing one’s IP address and Hadoop port will allow access to the Hadoop dashboard.
Step 7: Access Hadoop UI from Browser
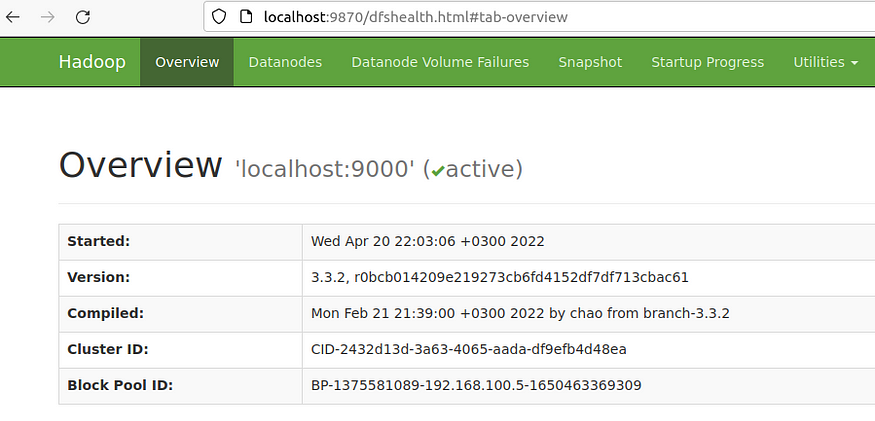
Use your preferred browser and navigate to your localhost URL or IP. The default port number 9870 gives you access to the Hadoop NameNode UI:
http://localhost:9870The NameNode user interface provides a comprehensive overview of the entire cluster
The default port 9864 is used to access individual DataNodes directly from your browser:
http://localhost:9864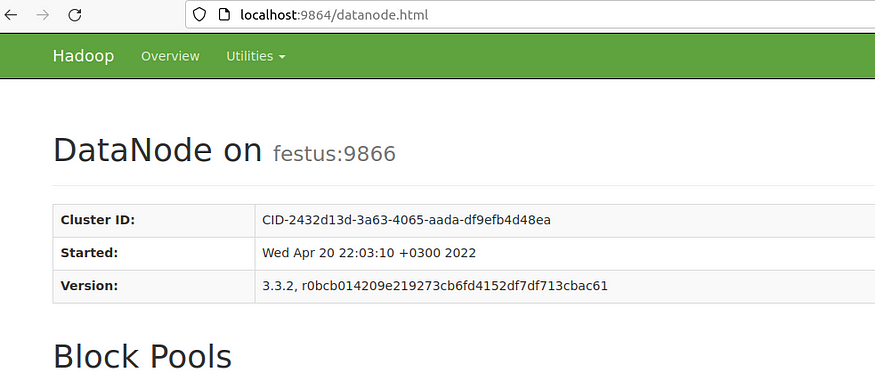
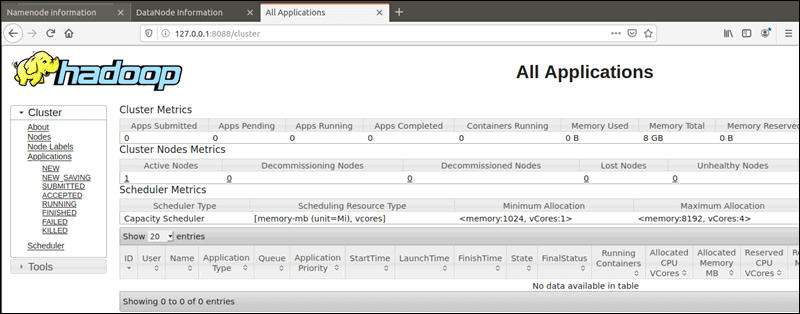
The YARN Resource Manager is accessible on port 8088:
http://localhost:8088The Resource Manager is an invaluable tool that allows you to monitor all running processes in your Hadoop cluster.


.webp)
0 Comments